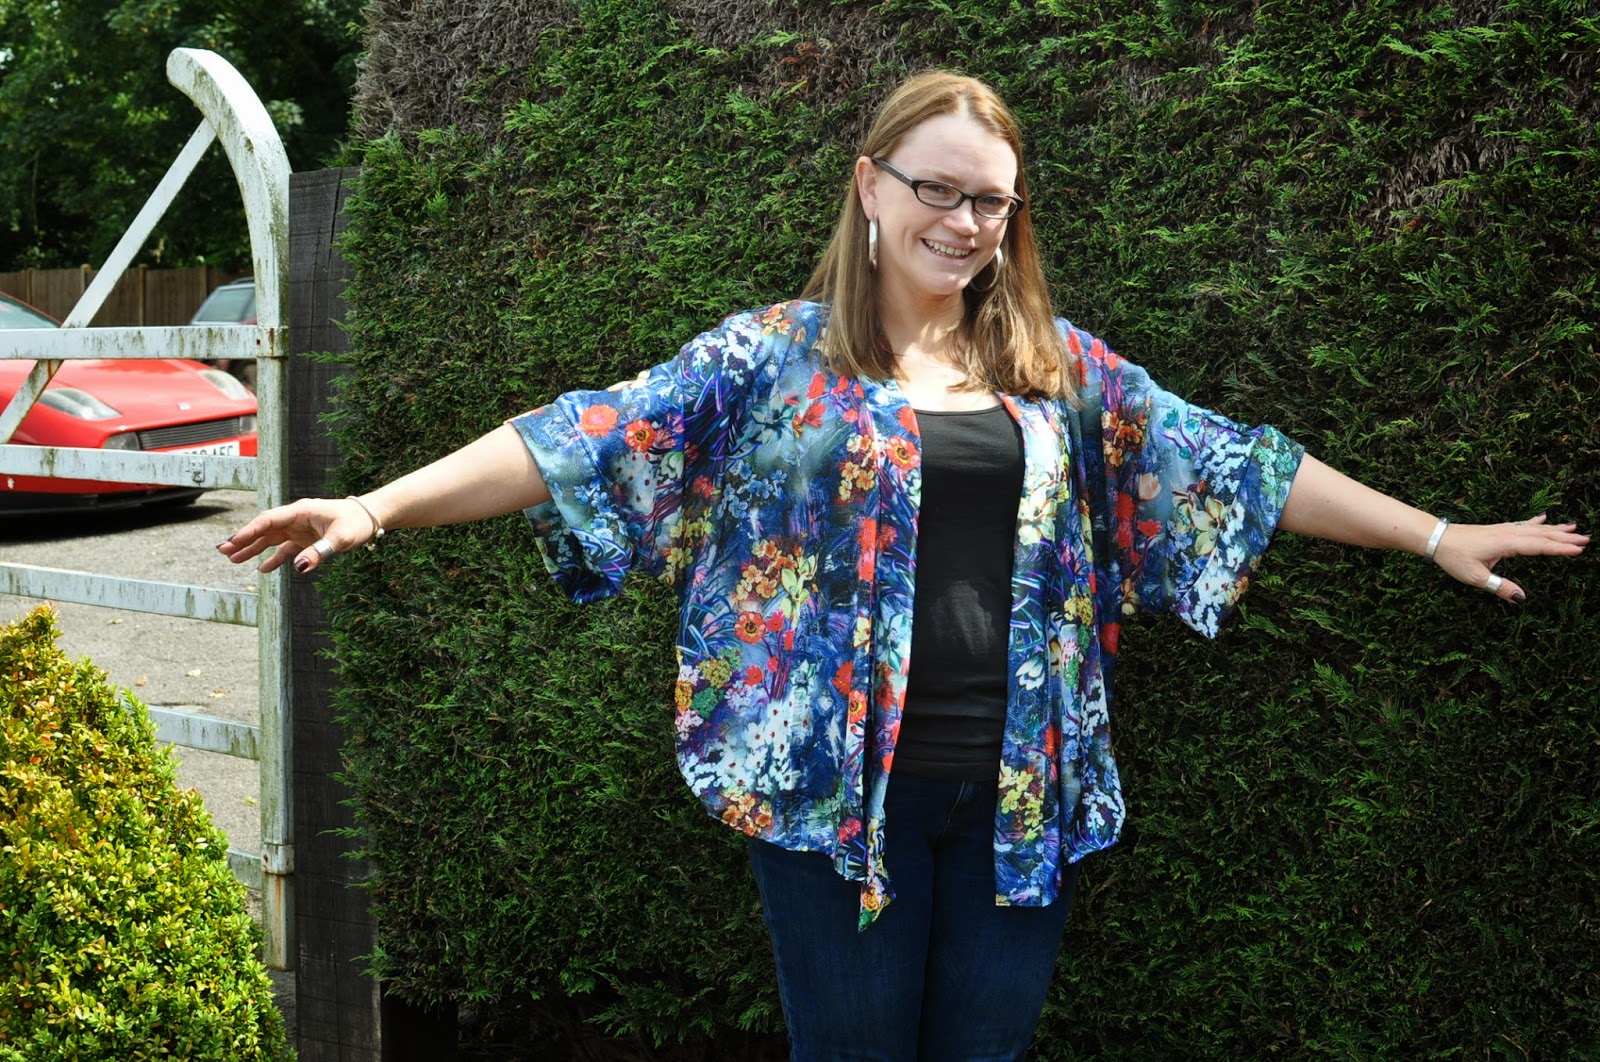
So I kind of feel like I'm cheating on poor old Tilly and her Buttons by putting down Love at First Stitch for a couple of days, but I've been desperate to make a kimono top for weeks now!
Whilst at Makegood last weekend I stumbled across another Independent pattern designer called Freya of Elise Patterns. She had come up with a beautiful Kimono pattern that could be made as a traditional long robe or as a short jacket with skinny jeans.
I had already bought some lovely cotton lawn which had no crease in it and was very lightweight. It would have been perfect for this pattern but sadly anything 115cm wide or less is not suitable due to the size of the pattern pieces. There are suggestions for fabric with this pattern, but I missed them completely and just guessed! I knew whatever I chose had to drape and ideally not crease.
So I had no choice but to head off to my local fabric shop (such a shame). I may have been mad but I chose a beautiful Satin/polyester mix. It's very shiny and drapes beautifully, but I had no idea how hard it would be to sew!
I have to say this pattern looks very simple to the untrained eye. As those of you who follow my blog will know, dressmaking is relatively new to me however I do believe I have enough skills to be able to see issues and problems in a pattern.
I started by cutting my fabric out. As it was super slippy I pulled in a helping hand of one of my lovely customers to hold onto it whilst I whizzed round with a rotary cutter. I honestly thought pins and shears would be impossible!
The instructions are very clear however I think if I was to make this again I would choose to use french seams on all the joins. My ovelocker does not like silk and gathers up terribly and if you were not lucky enough to have one zig zag finishing would look a bit yucky when the wind blew your top open.
I'm not sure if it was the fabric I chose but I found the cuff and collar peices were too short. I re-made them and added an extra few inches and all was well.
To add the cuffs, Freya tells you to join both short sides and make a loop to stitch on right sides together. I tried this on a couple of occasions but I just could not get it to fit so resorted to adding the cuffs as if I was adding biased binding. I found this far easier and got a really neat finish but as I mentioned earlier, had I not had a little bit of previous dressmaking experience I think I may have given up.
Next came turning my cuffs and collar over and this was a whole other matter. What nutter chooses a fabric which wont press? Out came hundreds of pins and the needle and thread, it was time to tack!
Over all this is a fabulous little pattern, very clearly written with good diagrams. I think if you were to use a lightweight cotton which could be pressed then I could honestly make this in a little over an hour. I will definitely try again and urge you all to give it a go too. Just be careful with your fabric choices.
I can say I will be wearing this all summer though, it feels beautiful and looks lush.
Thanks Freya and good luck with your new business


Ooo! Pretty! I might have to give this ago :)
ReplyDelete