

I've been promising you a tutorial for ages and when I made this lovely buggy set for Little Miss Mack yesterday I realised that the seatbelt pads were a perfect little project to share with you. You can make them from any patterned fabric you like and they are really very easy.

You will need 4 pieces of patterned fabric and 2 pieces of wadding each measuring 7" long by 5.5" wide. 2 lengths of hook and loop sew on velcro measuring 5.5" long.
I'm showing you how to make 1 pad, once you have finished it then you will need to repeat all the stages to make your second one.
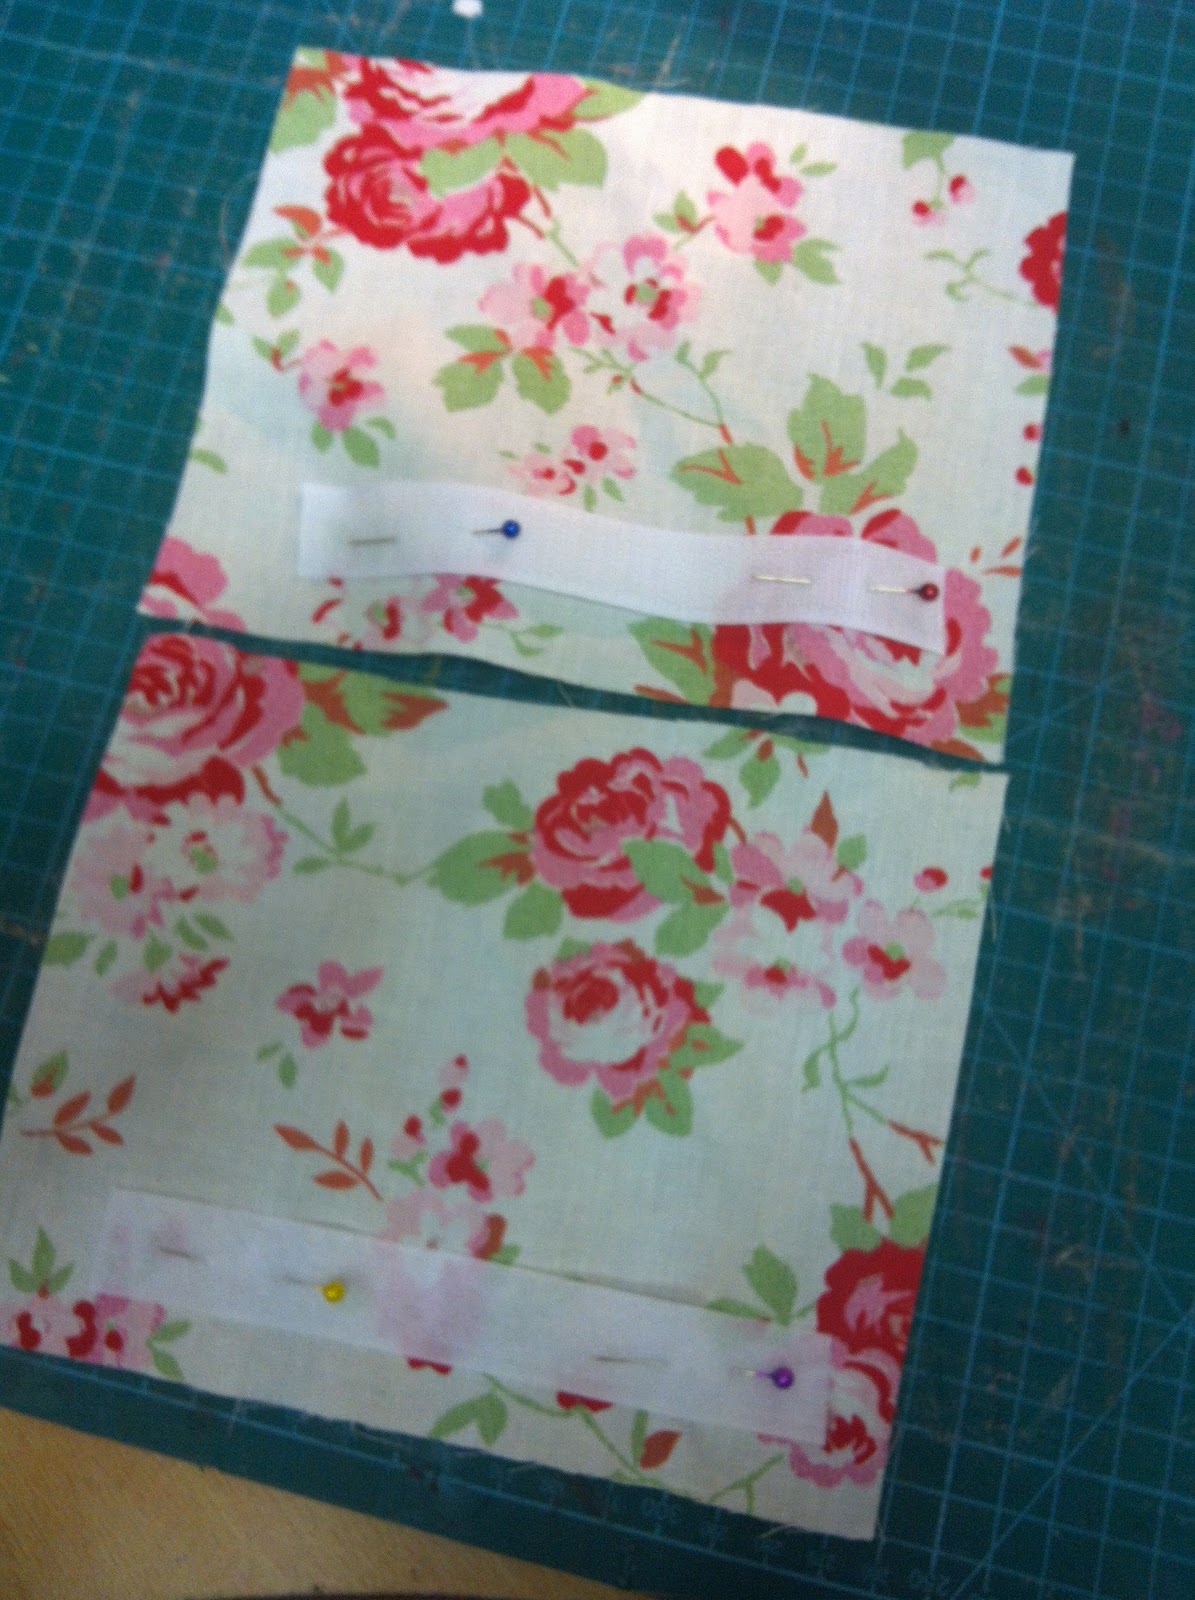
Take your velcro and open it up. Pin the loop side down one length of patterned fabric as shown and the hook side onto the opposite length of fabric. Stitch in place all the way round each piece of velcro on all 4 pieces of patterned fabric.
Then you want to layer up your fabrics as follows: I've made a little video for you to make it easier to explain
Once you've layered up your fabrics pop a little pin in the top and bottom to hold it in place. Can you see the two purple marks I've made at the top about 2" in from the edge? You want to start your stitching on one mark and end up back at the other, leaving a gap at the top to turn.

I like to use the edge of my presser foot for my seam allowance.

Once you've sewn round, snip off your corners to remove any bulk before turning. Be careful not to cut through your stitches. Remove your pins.

Turn your pad in the right way and poke out your corners. You'll need to tidy up the opening now by tucking in your raw edges and popping the iron on to press them closed.

This time using the little hole inside your presser foot as a guide stitch as close as you can to the top edge to close the gap from one side top the other making a little backward stitch at the beginning and end of the row to secure your stitches. If your like me you might like to do the same at the bottom edge. You don't need to but it looks more equal!

And there you have it a little seatbelt pad.

Now repeat the stages with your other pieces of fabric to make your second pad.

And attach to your buggy

I hope you find this tutorial easy to follow, please let me know if you don't and I'll tweak it. Hopefully if it's a popular post I'll make some more tutorials for you soon.
Fantastic! Thank you so much :)
ReplyDeleteThis looks fantastic! Thank you for joining in with Tuesday Tutorials :)
ReplyDeleteHi, just coming over from pintorials. These are great, love the fabric too!
ReplyDelete